


Model Railway Scenery for Beginners: Ground Cover, Roads and Trees
By Hobbyco Editorial Team · · 12 min read
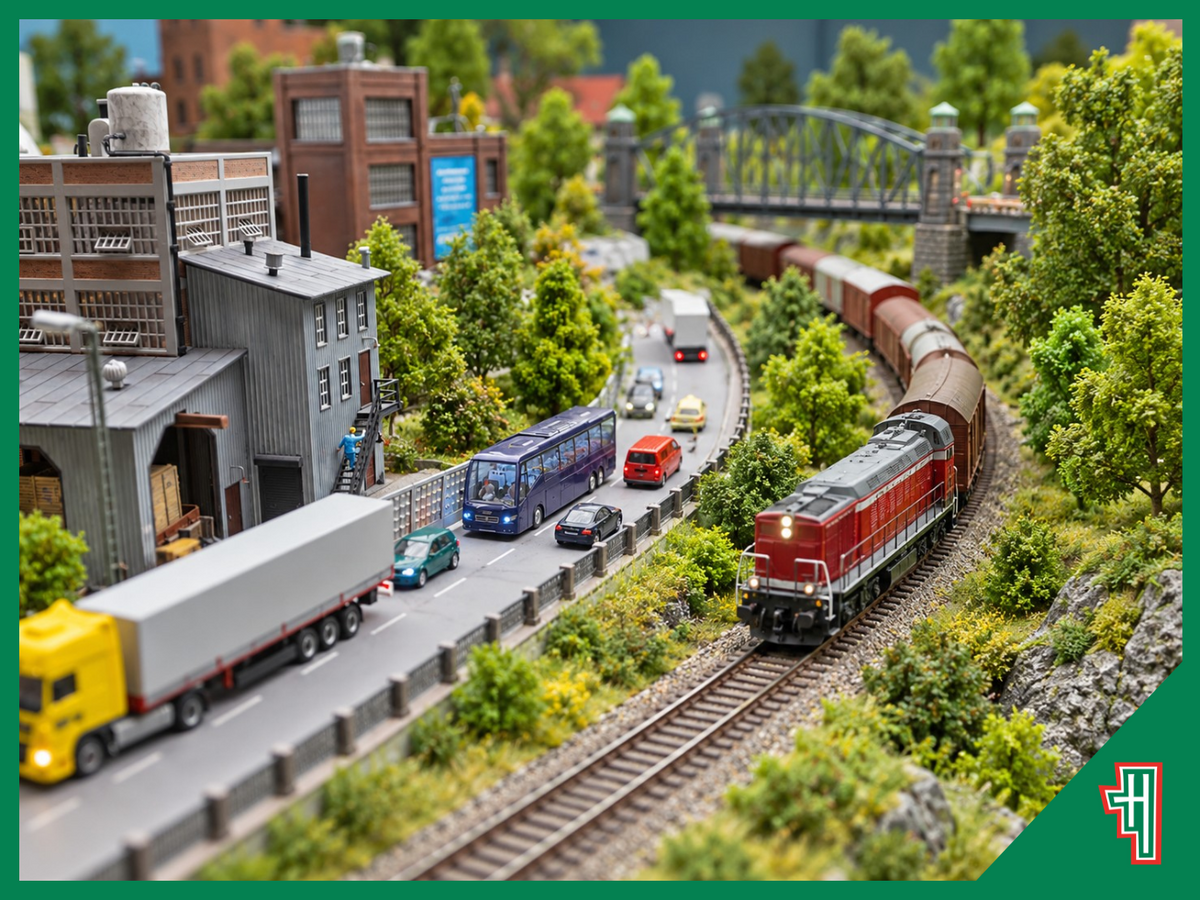
A railway becomes a place, rather than only a circuit of track, when the scenery gives every train a reason to be there. A cutting suggests difficult terrain, a worn road hints at local traffic, and carefully placed trees can make even a compact board feel larger. This model railway scenery for beginners guide shows how to build that effect without trying to finish an entire layout at once.
Complete one small scene from the base layer upwards. Add earth colour, layered ground cover, roads, vegetation and details. The model train scenery techniques below suit a first project and can be repeated as your layout grows.
TL;DR
-
Finish the track, wiring and reliable running before permanent scenery makes access harder.
-
Build one manageable scene and choose a location, season and era to guide its colours and details.
-
Use an earth-coloured base so gaps in grass or scatter do not reveal bright plaster or bare board.
-
Layer fine turf, longer fibres, bushes and details instead of using one uniform material.
-
Keep glue, ballast and loose fibres away from railheads, point blades, contacts and mechanisms.
-
Vary road colour and tree height, and keep every feature clear of trains and maintenance access.
-
Test each stage, let adhesives dry fully and vacuum loose material through mesh for reuse.
Plan a Small First Scene

The easiest beginner railway landscape is not a complete town, mountain range or terminal. Choose a section about the size of a sheet of paper or a short stretch beside the track. A grassy embankment, level crossing, country lane or industrial-yard edge gives you enough variety to practise without turning every decision into a major commitment.
Decide what the scene represents before choosing materials. Ask where the railway is located, what season it is, how the land is used and how recently the infrastructure was maintained. A dry Australian cutting needs different colours from a damp British branch line. An active goods yard will have compacted ground, stains and sparse weeds, while a rural verge may have long grass, scrub and uneven drainage.
Use photographs of the place and period as references. Notice the proportion of grass to bare soil, where weeds collect, how roads meet the railway and whether trees grow singly or in groups. Observation is one of the most useful model train scenery techniques because it prevents the layout from becoming a collection of attractive products with no shared visual logic.
Check Scale, Clearance and Viewing Angles

Scenery packaging may describe a product as OO/HO because it can work visually with both, but OO and HO are not the same scale. British OO is commonly about 1:76, while HO is 1:87. Choose buildings, figures and scale-dependent details carefully. Ground foam, soil, foliage and many trees are more forgiving because natural features vary in real life.
Run your longest locomotive and rolling stock through the scene before fixing anything. Check coach overhang on curves, access to uncouplers and the reach needed to clean track. View the area from normal operating height too. A tree that looks well placed from above may hide a signal or make a derailment difficult to reach.
Gather a Practical Scenery Toolkit

You do not need every specialised material at the start. A small set of controllable products is more useful than a cupboard of colours that never work together. The current Hobbyco scenery supplies range includes scatter materials, grass products, trees, terrain accessories and structure details, so you can build the scene in stages.
For a first project, collect a base colour, two or three ground textures, a suitable adhesive, soft brush, pipette or fine mist sprayer, masking tape, small vacuum and basic hand tools. Add trees, bushes, road material and details after the foundation works. Read the manufacturer’s instructions because adhesives, pastes, paints and static grass systems differ.
Core Materials and Their Jobs
-
Earth-coloured acrylic paint or scenery base coat hides the raw board and creates a believable undertone.
-
Fine turf or short scatter forms the first continuous layer of low vegetation.
-
Coarser turf, clumps or underbrush adds texture around banks, fences and neglected areas.
-
Static grass suggests upright growth but needs the correct adhesive and application method.
-
Flexible road material, texture paste or thin modelling compound forms lanes, yards and footpaths.
-
Ready-made or kit-built trees add height; smaller bushes blend their bases into the ground.
-
Scenic glue or diluted adhesive secures loose material. Use only a mix compatible with the products and surface.
Prepare the Layout Before Adding Scenery
Reliable operation comes first. Complete the track alignment, soldering, feeders and turnout controls, then run trains in both directions at slow speed. Correct derailments and electrical dead spots before landforms restrict access. This order is central to model railway scenery for beginners: scenery should support the railway, not conceal faults.
Cover railheads and nearby working parts before using paint, plaster, spray adhesive or loose fibres. Point blades, hinges, contacts, uncoupling ramps and motor openings need particular care. Low-tack masking tape, card shields and a handheld applicator give more control than broad spraying. Remove protection when the messy stage is complete and inspect the mechanism before material hardens.
Paint the terrain in a muted earth colour before adding texture. Choose a brown, grey or ochre that suits the location rather than one universal shade. Bright green beneath grass often looks artificial; very dark brown can be too strong for dry soil. The base should resemble the ground that would naturally show through.
Build Ground Cover in Layers

Layering is the quickest way to escape the ‘green carpet’ look. Begin with fine material close to the earth colour, then add a second shade in broken patches. Reserve coarse turf, weeds and longer grass for edges, hollows and places with less foot or vehicle traffic. A beginner railway landscape becomes convincing when variation follows a reason.
Brush or spray adhesive over a small area and work while you can control it. Sift fine scatter lightly, tap away excess, then add lighter or darker tones before the base is completely hidden. Once dry, add coarser growth in selected places. Thin layers are easier to adjust than one heavy application and allow the earth coat to remain visible where traffic suppresses vegetation.
Use Colour and Texture to Show Land Use

Short grass belongs near maintained platforms, paths and cut verges. Longer fibres and bushes suit fence lines, drainage channels and forgotten corners. Bare soil appears at gates, around utility cabinets and where people walk. Gravel collects near sheds and access roads. These relationships make model train scenery techniques feel purposeful.
Select one dominant colour family, one supporting tone and a smaller accent. Include straw, grey, olive or brown to reduce saturation. If a section looks patchy while wet, let it dry before adding more; many scenic glues change appearance as they cure. Test new products on scrap material first.
Create Roads and Paths That Look Used

Roads establish scale quickly, so plan them before the surrounding grass. Check width against a suitable vehicle or figure and allow room at bends, crossings and loading areas. A rural lane can be narrow, while a main road or industrial route needs believable clearance. Draw the route first and view it from operating height before applying paste.
Pure black is rarely the best final colour. Weathered asphalt often reads as charcoal, grey-brown or dusty grey, with darker repairs and lighter worn areas. Concrete has subtle panel variation, joints and stains. Dirt roads show compacted wheel paths, a looser centre strip, drainage and a gradual transition into the verge. Keep texture fine enough for the scale.
Blend the road edge into the scenery rather than leaving a sharp step. Add fine soil, sparse weeds and occasional gravel where maintenance allows it. At a railway crossing, preserve flange clearance and keep every moving or electrical surface free of glue and filler. Test vehicles and trains before fixing gates, signs or barriers.
Place Trees, Bushes and Lineside Growth

Trees should vary in height, shape and colour, even when they represent the same species. Use groups of different sizes, turn repeated commercial trees to different angles and blend trunks with undergrowth. A row of identical trees at equal spacing looks artificial unless it represents a formal avenue or orchard.
Place taller trees toward scene edges or behind structures to frame the railway. Low bushes can hide the join between a trunk and terrain, soften a cutting and lead the eye toward the track. Leave open patches too; solid vegetation everywhere can make a small layout feel crowded.
Check clearance with your widest and longest rolling stock. Branches, foliage and hedges must remain clear of coach overhang, pantographs, signals and operators’ hands. Keep trees removable near hidden track, baseboard joins and access panels. These choices are essential in a beginner railway landscape that still needs adjustment.
Complete a First Scene Step by Step
This project creates a grassy verge with a lane, two or three trees and lineside detail. It combines the essential stages without advanced terrain carving. Adapt colours to your place and season, and make a test piece first if any material or adhesive is unfamiliar.
-
Mark the scene boundary, road route, drainage low point and tree positions. Confirm train clearances.
-
Protect rails, pointwork and openings. Disconnect layout power before using wet products near electrics.
-
Shape a shallow embankment or verge, preserving access underneath and avoiding a uniform slope.
-
Paint the terrain in muted earth tones and the road base in weathered grey or soil colour.
-
Apply a fine ground layer with small areas of earth visible, then add a second shade in patches.
-
Add longer grass, bushes and coarse texture around drainage, fences or quiet edges rather than everywhere.
-
Finish the road with restrained wear, blend its shoulders and keep the crossing operational.
-
Install varied trees and blend their bases. Add only a few details that support the scene’s story.
-
Remove masking, clean railheads appropriately and inspect moving parts before restoring power.
-
Run trains slowly through the area, check clearance and correct issues after everything is dry.
Repeat the sequence along the layout, but vary the focal points. One section might emphasise rock and scrub, another a station garden, and another an industrial yard. Repeated foundation colours tie the scenes together; differences in land use keep them from looking copied.
Avoid Common Beginner Scenery Mistakes
Covering Everything With One Material
A grass mat or single scatter colour can provide a base, but it rarely completes a scene. Break it with earth, fine and coarse textures, weeds, gravel and height changes. Let land use and moisture guide the differences rather than distributing them randomly.
Applying Scenery Before Trains Run Reliably
Permanent scenery can hide track joints, wiring and turnout mechanisms. Test first, record cable routes and preserve access. If the track plan may change, use temporary scenery or practise on a detachable module.
Using Too Much Glue Near the Track
Flooding can carry adhesive into point blades, contacts and mechanisms. Apply small quantities with a pipette or brush, shield the track and work away from moving parts. Clean residue promptly according to the product instructions.
Trying to Finish the Whole Layout at Once
Complete a test area, observe it under layout lighting and decide what to repeat. Small sections improve consistency, reduce waste and make it easier to change an unsatisfactory colour before it spreads.
Maintain and Expand the Scenery

Dust scenery with a soft brush, a low-powered vacuum used through mesh, or another method recommended for the material. Support delicate trees and structures rather than pulling on them. Avoid wet cleaning unless the finish can tolerate it, and never spray cleaner across track, contacts or water-soluble scenery.
When expanding, repeat several foundation colours. New sections need not be identical, but shared earth, ballast and vegetation tones make them part of the same railway. The Hobbyco Model Trains 101 guide covers broader layout planning, while this article focuses on scenery construction.
Start With One Believable Place

Good scenery is not measured by the number of products on the board. It comes from proportion, observation and patient layering. Plan a manageable area, protect the railway, use restrained colours and place details for a reason. Your first scene can then feel connected to a larger world.
Return to this model railway scenery for beginners process as the layout grows: plan the setting, prepare the base, layer ground cover, build roads, add vegetation, test operation and refine after materials dry. The same sequence works for a rural verge, station approach, cutting or industrial yard.
Frequently Asked Questions
What is the easiest model railway scenery for beginners?
A small grassy verge or embankment beside reliable straight track is a good first project. It uses an earth-coloured base, fine ground cover, a second texture and a few bushes or trees. The area is easy to reach, and you can practise several model train scenery techniques without committing to a large landform.
Should I add scenery before or after laying track?
Lay, wire and test the track first. Correcting alignment and electrical problems before permanent scenery preserves access. You can plan landforms at the same time, but protect rails, pointwork and mechanisms whenever you apply paint, filler, glue, ballast or loose material.
Do I need a static grass applicator for my first layout?
No. Fine turf, scatter, clumps and short fibres applied with a puffer bottle can create an effective beginner railway landscape. An electrostatic applicator can make fibres stand more consistently, especially over larger areas, but use it only with suitable products and follow its safety instructions.
How do I make model railway ground cover look realistic?
Use more than one texture and tone. Start with earth colour, add fine material as the main layer, then place longer grass, bushes and bare patches where they make sense. Study reference photos and let glue dry before deciding whether another layer is needed.
Can the same scenery products be used for OO and HO layouts?
Many ground materials, trees and terrain products can work in both because natural features vary in size. However, OO and HO are different scales, so check figures, buildings, road markings, signs and other scale-dependent items. Test each product beside your rolling stock before fixing it permanently.
You may also like
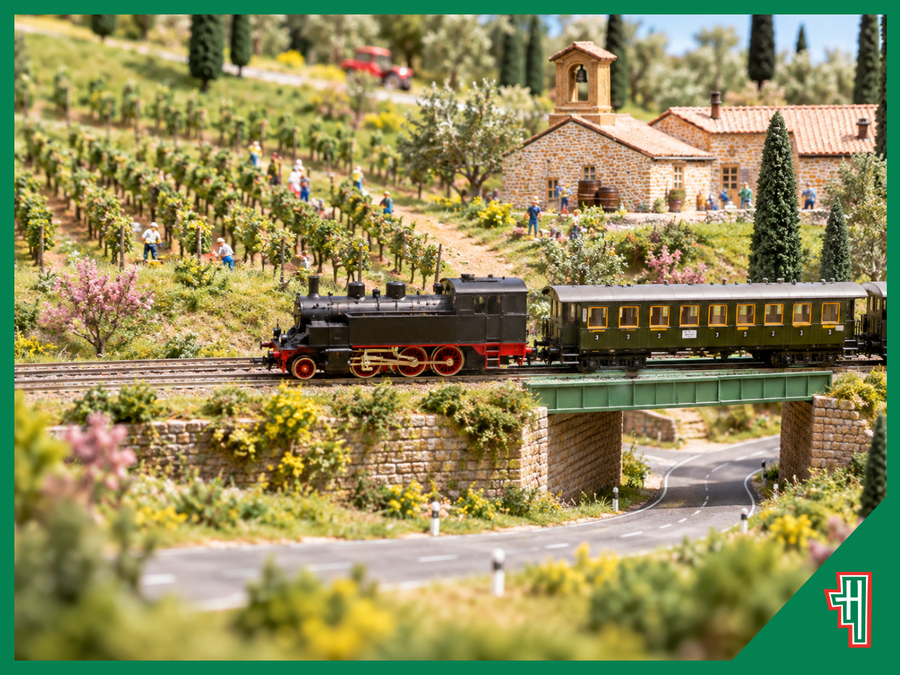
6 Model Railway Scenery Ideas to Refresh Your Layout This Spring in Australia
Spring is a great time to look at your model railway with fresh eyes. A few carefully chosen scenery updates can brighten tired areas, improve realism and give familiar sections of your layout an entirely new character. You do not need to...
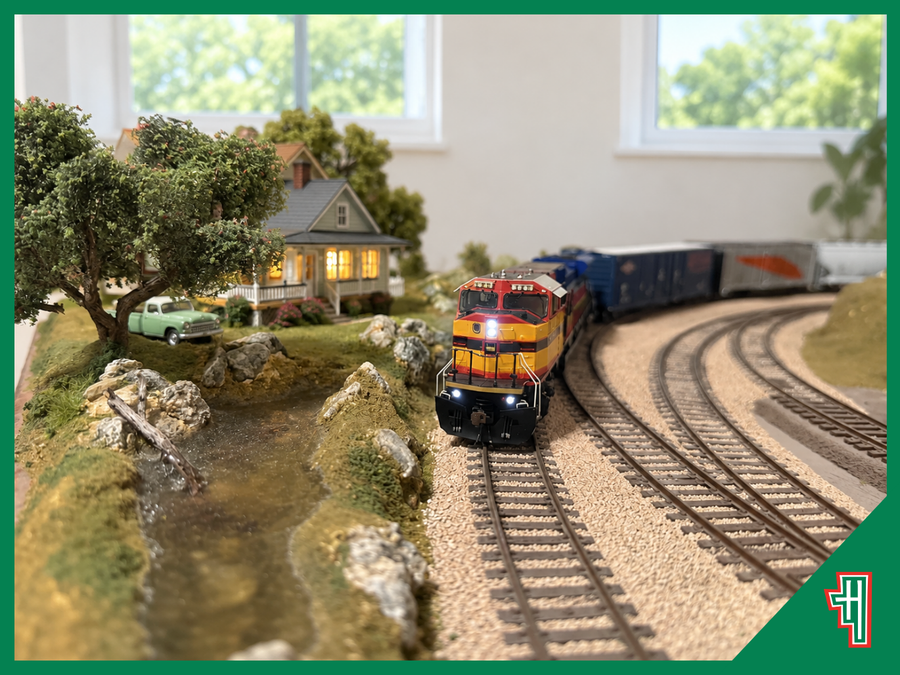
HO Gauge Track Radius Explained: Curves, Space and Train Length
This HO gauge track radius explained guide connects curve size with the trains you want to run and the space available. The useful number is not a universal R1 or R2 label. It is the actual radius in millimetres, checked against each...
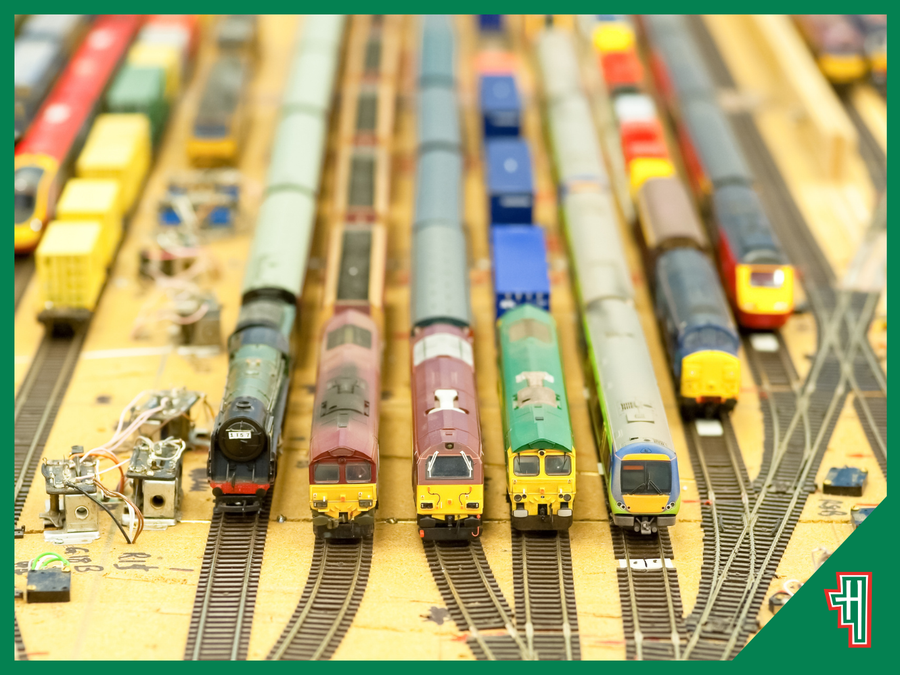
How to Wire a Model Railway: A Beginner-Friendly Layout Guide
Learning how to wire a model railway is easier when the electrical plan is drawn before track and scenery hide the working area. Choose the control system, divide the layout into logical sections, plan the railway bus wire and feeders, then test...
Comments