


Building the Heller 1:48 Dassault Mirage IV P: A Cold War Giant
By John Marley · · 10 min read
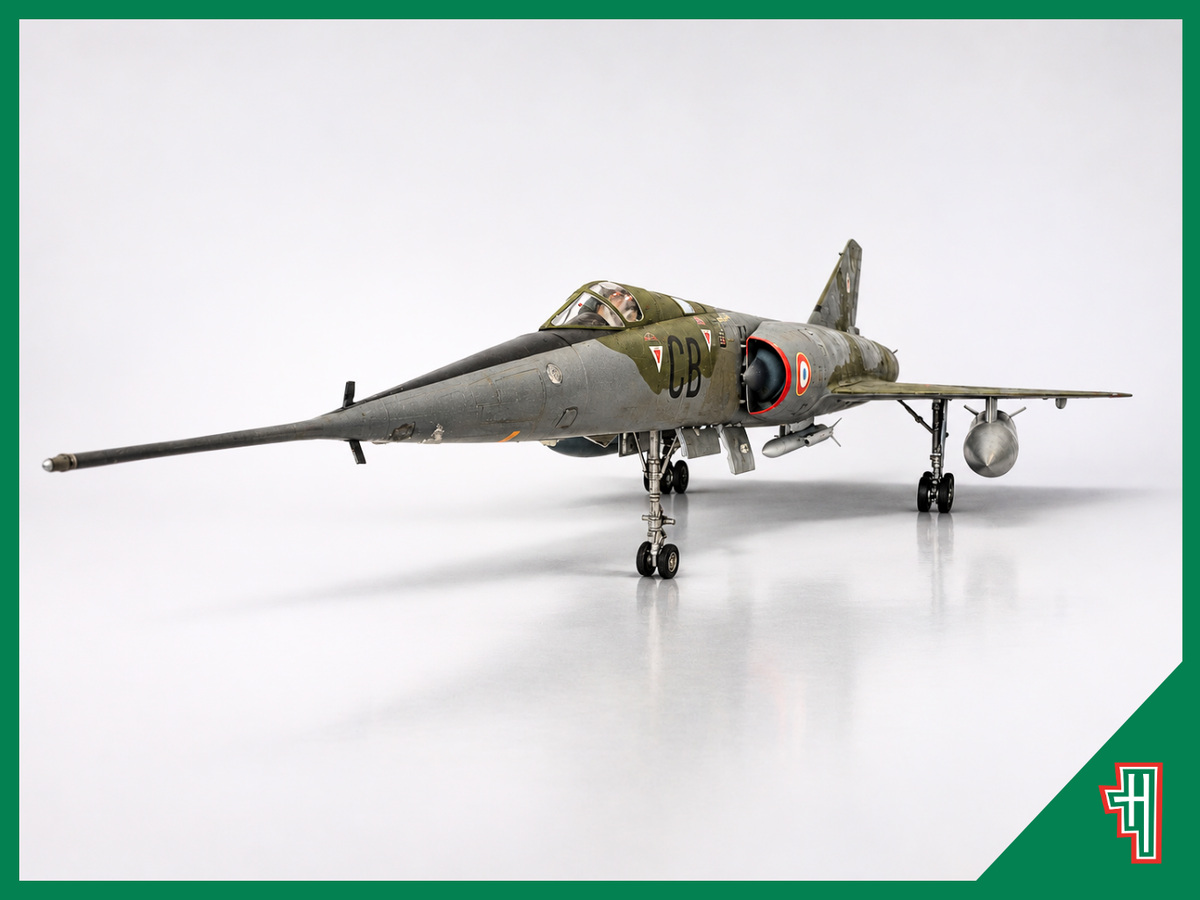
The Dassault Mirage IV was a French nuclear-capable strategic bomber designed for sustained supersonic flight. The Mirage IV A entered service in 1964, while the later Mirage IV P upgrade introduced the ASMP stand-off missile during the 1980s. The final Mirage IV Ps remained in operational service until 2005.
There is an interesting Australian connection, too. When the Australian Government evaluated replacements for the English Electric Canberra bomber in 1963, the Mirage IV was considered alongside the TSR-2, Vigilante, Phantom and General Dynamics TFX. Australia ultimately selected the aircraft that became the F-111C.
The Heller 1:48 Dassault Mirage IV P is based on tooling dating from around the beginning of the 1980s. For builders wanting this large French bomber in 1:48 scale, it remains the only mainstream injection-moulded option.
This is an older kit with raised panel lines and limited cockpit detail, but it also has impressive dimensions, distinctive delta-wing styling and plenty of room for additional work. Here is how I approached the build.
Building and Detailing the Cockpit

The build begins with the two crew positions for the pilot and weapon systems officer. No instrument-panel decals are supplied, so I painted the instrument panels and side consoles using reference photos found online.
The two Martin-Baker Mk.4 ejection seats lack moulded surface detail. To improve them, I painted lengths of Tamiya 6mm Masking Tape blue and buff, then cut the tape into thin strips to represent the seat harnesses.

Small pieces of Evergreen 1.6mm Polystyrene Rod were used to create the centre buckles.
These additions are simple, but they make the otherwise plain seats much more convincing beneath the canopies.
Planning the Nose Gear and Adding Weight

I chose not to fit the nose landing gear to the wheel well in Step 3 because it could be installed after the fuselage had been painted. For the same reason, I left the two clear nose lights from Step 2 until almost the end of the build.
The Mirage IV has a large delta wing, placing much of the finished model’s weight towards the rear. To prevent it from sitting with its nose in the air, I secured 60 grams of fishing sinkers inside the cavity behind the cockpit and above the nose wheel well.
That may sound like a lot, but this is a large model and I wanted to be certain the nose wheel would remain firmly on the ground.
Engine Exhausts and Fuselage Assembly

Five parts make up the engine exhausts. A notch on the starboard-side forward face helps ensure the flame holders, Part 5, are installed the correct way up.
I painted the complete exhaust assembly with Vallejo Metal Color Jet Exhaust. It produces an effective engine-metal finish and offers good value for the amount supplied.

The two fuselage halves were then joined around the cockpit, engine assembly and nose wheel well. The overall fit was fairly decent for tooling of this age, although a small amount of Vallejo Plastic Putty was needed to close the remaining seams.
Intakes, Souris and Wings

Next came the engine air intakes. Inside each duct is a pointed shock cone known in French as a souris, meaning “mouse”. On the real aircraft, these movable intake components helped manage airflow to the engines during supersonic flight.
I painted the rear of each souris and the surrounding intake ducts with SMS Metallic Aluminium before gluing them into position. As with the nose gear, the nose doors were left off until later to reduce the risk of damage.
In Step 6, the two upper wing surfaces are attached to the single lower wing section. I also fitted the four fairings, Parts 15 and 16, which cover the hydraulic control cylinders for the elevons.
Steps 7 and 8 cover the two enormous external fuel tanks, Steps 9 and 10 deal with the main landing gear, and Step 11 introduces the empennage or tail assembly.

I delayed Parts 41, the ESM fairings, and Part 42, the air duct, until after painting. In fact, I left almost every delicate component that projected from the airframe until the final assembly stage. That greatly reduced the chance of knocking something off while handling such a large model.
The completed wings fitted the fuselage surprisingly well, with very little filler required.
Masking the Canopies

Using a new hobby blade, I made masks for the windscreen and canopies. I placed Tamiya 6mm Masking Tape over each clear section, burnished it down with a toothpick so the raised frame became visible, then carefully cut along the frame lines.
This method takes patience, but it provides clean canopy framing without requiring a dedicated pre-cut masking set.
Priming and Adding Rivet Detail

The entire model was primed with AK Interactive Fine Primer White. A good primer coat helps the colour layers adhere and reduces the risk of paint scratching during later handling.
Because the kit has limited surface detail and raised panel lines, I decided the airframe would benefit from some embellishment.
Using a Trumpeter Hobby Rivet Maker, I added lines of small dimples based on the approximate structure visible in an aircraft cutaway drawing.

This did not turn the model into a fully re-scribed modern kit, but it gave the large surfaces more visual interest and helped the finished airframe look less plain.
Researching the Mirage IV P Camouflage

The camouflage colours suggested in the instructions, Sea Grey and Ocean Grey, do not accurately represent the scheme I wanted to reproduce.
Early Mirage IVs appeared in natural metal, while later aircraft received a dark grey and olive-green camouflage finish. I studied period photographs and videos to get a better sense of the colour balance and weathering.
I selected SMS Medium Sea Grey and SMS Forest Green FS34079. These shades gave me the slightly sun-bleached appearance I wanted for an aircraft that had spent many years in service.
The Medium Sea Grey was sprayed across the complete airframe first. I then used SMS masking putty to establish the camouflage boundaries before applying the Forest Green.
Painting the Markings Instead of Using Decals
The kit supplies decals for several prominent areas, including the black anti-glare panel on the nose, red engine-intake warning bands, orange external fuel-tank bands and the large earth-yellow fibreglass radome fairing.
I chose to paint these features instead. The colours used were:
The areas were masked with Tamiya Masking Tape with Plastic Sheet.
Painting these large blocks of colour gave me better control over their finish and avoided the risk of prominent decals looking thick against the painted surface.
Decals and Final Assembly

I applied the two lower-wing decals before attaching the two huge external fuel tanks. Once the tanks had dried securely, I fitted the remaining protruding components, including the landing gear, antennae and pitot probes.
To reduce decal silvering, where trapped air becomes visible beneath the clear carrier film, I trimmed each decal as close to the printed ink as practical before application.

This stage required care because the model had become both large and increasingly delicate. Leaving the projecting parts until last proved to be the right decision.
Adding the ASMP Missile

The final major component was the Air-Sol Moyenne Portée, or ASMP, nuclear stand-off missile fitted beneath the centreline pylon.
I painted the missile with SMS White and added a thin band of SMS International Orange FS12197 beneath the jacking point.
The kit also includes an AN-22 free-fall nuclear bomb, giving builders the option of modelling an earlier Mirage IV A configuration instead of the later Mirage IV P.
After fitting the missile, I removed the canopy masks and the build was complete. The 60-gram nose weight worked exactly as intended, and the finished model sits securely on its multi-wheel landing gear.
Final Verdict on the Heller 1:48 Mirage IV P


I thoroughly enjoyed building this kit. The Dassault Mirage IV P was a huge aircraft, and the finished model dwarfs the similarly shaped Mirage III fighter.
The completed build measures approximately 487mm long, 246mm across the wings and 120mm high. It commands a considerable amount of display space, but its size is also one of the kit’s greatest strengths.
This is unmistakably an older model kit. The cockpit is basic, the panel lines are raised and some filling is required. However, the main components fit better than expected, the distinctive airframe looks impressive in 1:48 scale, and there is plenty of scope for a modeller to add detail.
For its size and subject matter, the Heller Mirage IV P represents good value. Even when sitting still, this aircraft looks exceptionally fast.
Shop the Heller 1:48 Dassault Mirage IV P at Hobbyco
Products Used for This Build
Model Kit
Construction and Detailing
Primer and Paints
Frequently Asked Questions
Is the Heller 1:48 Mirage IV P suitable for beginners?
It is better suited to an intermediate modeller. The kit can be assembled successfully with standard tools and techniques, but its age, size, limited cockpit detail, raised panel lines and need for nose weight make it more involved than a modern beginner kit.
How much nose weight does the Heller Mirage IV P need?
I used 60 grams of fishing sinkers behind the cockpit and above the nose wheel well. This kept my finished model securely on its nose wheel.
Builders should ensure any added weight is firmly fixed and does not interfere with the cockpit or landing-gear assembly.
Does the kit include the ASMP missile?
Yes. The kit includes the ASMP stand-off missile carried by the Mirage IV P. It also includes an AN-22 free-fall bomb for builders who want to represent an earlier Mirage IV A configuration.
What colours were used for this Mirage IV P build?
The main camouflage was painted with SMS Medium Sea Grey and SMS Forest Green FS34079. Additional details used black, red, fluorescent orange, earth yellow, white, international orange and metallic finishes.
How large is the finished Heller Mirage IV P?
The completed model is approximately 487mm long and 246mm across the wings. My finished build stood about 120mm high, making it a substantial display model.
Is this a completely modern kit?
No. The tooling dates from around the beginning of the 1980s. Builders should expect older-kit characteristics such as raised panel lines and simplified detail, but the Mirage IV’s size and unusual subject still make it a rewarding project.
You may also like
Godzilla Day: 6 Monster-Sized Ways to Celebrate
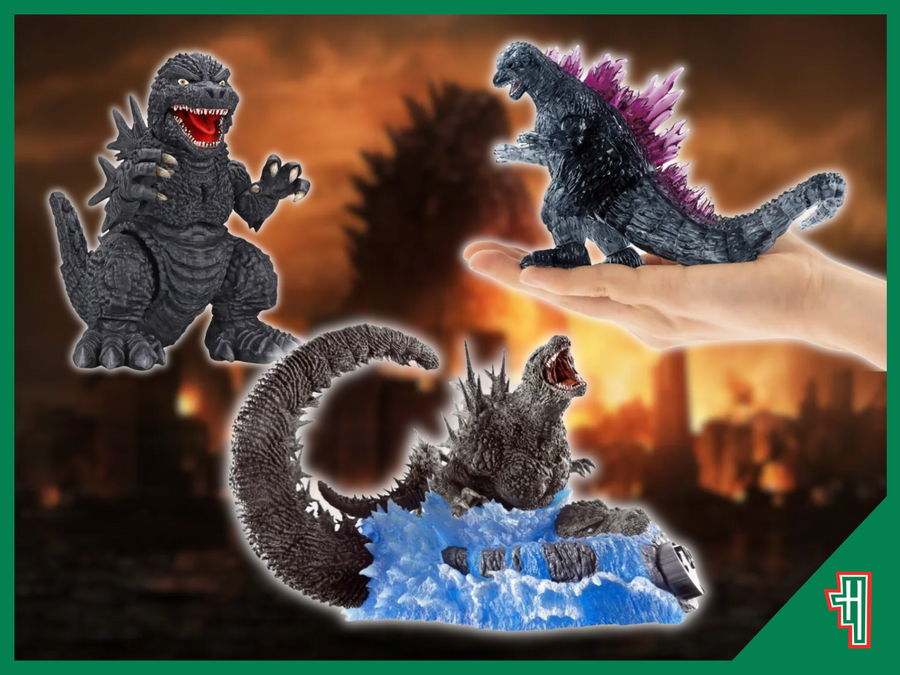
TL;DR: Godzilla Day is celebrated every year on 3 November, marking the anniversary of the original Godzilla film’s release in Japan in 1954. Fans can celebrate with a movie marathon, build a Godzilla model kit, start a collectable display, complete a 3D puzzle...

10 Last-Minute Halloween Activities for Kids and Families in Australia
Halloween is almost here, but there is still time to organise a fun celebration at home. You do not need an elaborate costume, expensive decorations or weeks of preparation. A few simple games, creative projects and spooky challenges can turn an ordinary...
Tamiya 1/48 Mitsubishi A6M3 Type 22 Zero Build Review
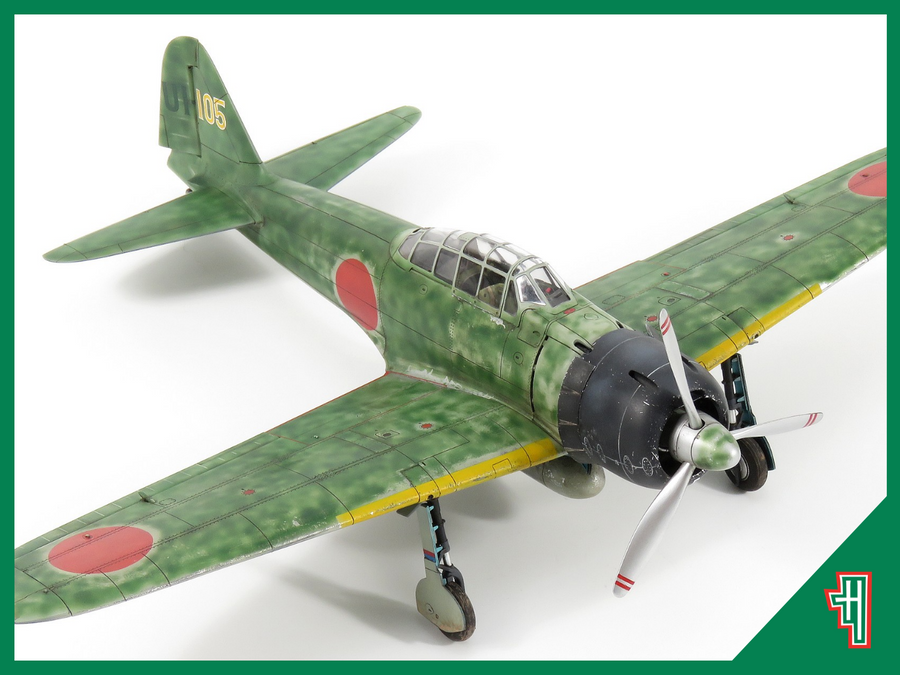
TL;DR: The Tamiya 1/48 Mitsubishi A6M3 Type 22 Zero remains an excellent aircraft model kit, even 15 years after its release. In this build, Gary Wickham (Scalespot-Models) keeps the project mostly out of the box, focusing on careful cockpit painting, painted markings,...
Comments